When it comes to your car, proper maintenance is one of the most important things you need to keep up on to keep things running smoothly. One step in proper maintenance that you need to look out for is when it is time to change your radiator hose and radiator hose clamps. While some things are better left to be done by a professional, changing your radiator hose and radiator hose clamps are something that can easily be done by yourself at home.
How To Change Your Radiator Hose & Clamp

- The first step you need to take is to drain and flush your cooling system. Before starting anything, you want to first make sure that your engine is completely cooled down. This is important as you can get severely burned at the high temperatures the engine runs at.
- Once you are sure that your engine is cooled, you can start by removing the radiator cap. Removing the radiator cap will allow the pressure on the cooling system to be released.
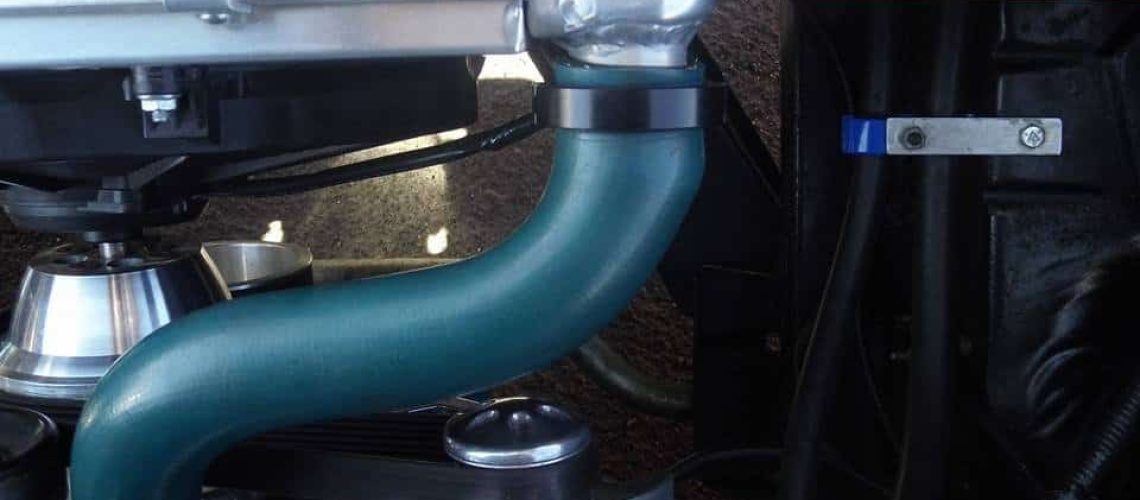
- The next thing you will want to do is check your radiator hose. If you feel crunching when you squeeze your radiator hose, it is most likely due to rust. In this case, you will need to replace the hose and flush the system. Another sign that it is time to change your radiator hose is if it feel very weak when you squeeze it. There are also visible signs you should look out for such as your radiator hose being swollen, cracked, or leaking. It is important to make sure to check on your radiator hose when changing things such as your oil, tires, etc. as it can make your engine overheat and eventually not run.
- After you check your radiator hose and radiator hose clamps, you need to remove the petcock and allow the coolant to drip out. In this step it is very important to place something under the petcock to allow the coolant to drain in to. Coolant is extremely toxic to the environment and its sweet smell and taste do a great job at attracting animals, so making sure its safely dealt with and disposed is a must.
- If you felt your radiator hose and suspect that there is rust in the radiator, this is the time to flush your radiator out with coolant. It is also a good idea to flush your radiator if the coolant in it seems dirty or needs replaced. After draining the coolant, you can then begin to loosen the radiator hose clamps with either a screwdriver or with pliers.
- Once you have removed the radiator hose clamps from where they were fitted, you can then remove the radiator hose. From this point, you can then replace the radiator hose if you need to. While changing your radiator hose might be a pain free and easy process, changing your radiator is not always the same case. If you think that your actual radiator is broken, it might be time to go to a professional to avoid further damaging it.
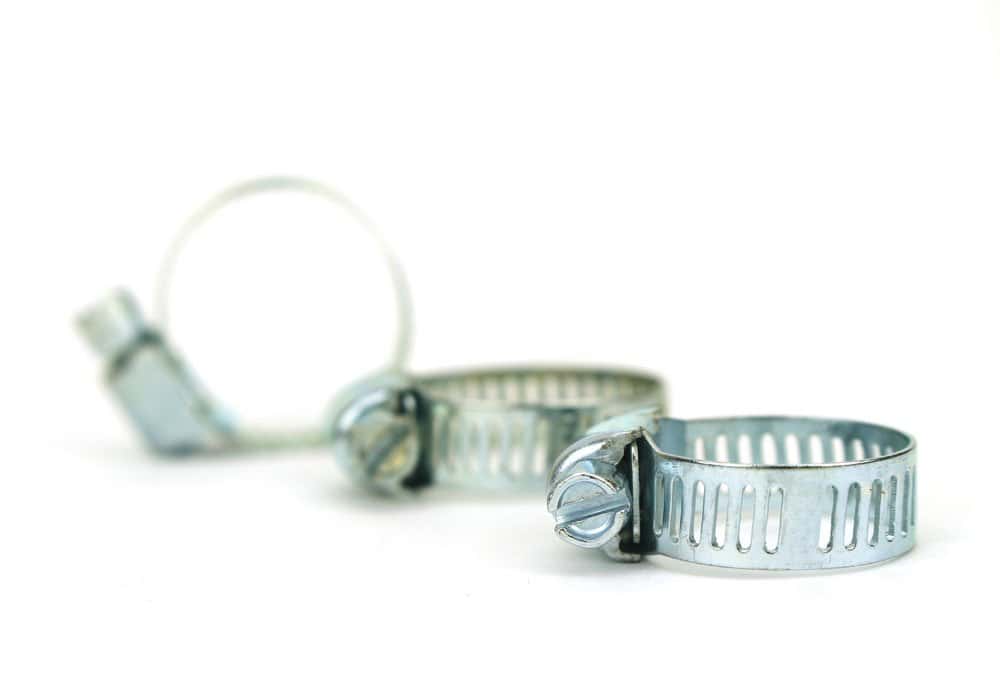
- After you have checked your radiator hose, the next step is to check on is your radiator hose clamps. Both radiator hoses and radiator hose clamps should both be changed every 3 to 5 years. If your radiator hose clamp is not properly fitted to the radiator hose, it can cause your car to overheat. This is because the internal pressure will start to drop and the radiator will not be able to keep cooling your engine. When looking to see if you need to replace your radiator hose clamp, you want to make sure you have the right size to replace it with. Although you may think you can estimate or guess the length, replacing the radiator hose clamp with one that does not fit will just end up worsening the problem you are trying to fix, or even just cause a new one. You can even get a custom radiator hose clamp made to ensure that your radiator hose and radiator stay in the best condition they can. It is common for radiator hose clamps to break if they are low quality or if they were not properly fitted. They can also break at times from the high pressure so if you feel the need to change them, it is never a bad idea.
- Depending on the type of radiator hose clamp that you use, you will either have to unscrew them or remove them by using pliers. Once you are able to remove the old radiator hose clamps, you can start to replace them. From this point you will want to make sure that the fittings are clean and your radiator hose is in good condition before fitting your radiator hose clamp on.
- Once you are able to put the radiator hose clamp on, you will want to secure the radiator hose clamp on the fitting properly. After this, you will want to make sure the radiator hose clamp fits properly. A proper fitting radiator hose clamp should be very snug fitting, but not too tight as to damage the radiator hose.
If you are still having problems with things like leakage, or if you check the radiator pressure and it does not read right, you may want to go over the steps you went through to make sure you didn’t miss anything. It is also good to check the parts you are replacing the radiator hose and radiator hose clamp with to make sure they are in good condition to avoid the hassle of going through everything again.
Checking Your Radiator & Hoses To Improve Performance

Although it may be easy to put off changing and keeping up on your car, it is crucial for peak performance and it keeps you from having to pay more in the long run. By checking up on your radiator hose and radiator hose clamps regularly, you can avoid things such as your engine overheating and even in extreme cases totally combusting. The process of changing your radiator hose and radiator hose clamps should not take more than an hour, and is relatively easy to do when you have informed yourself on how to do it. You also will want to make sure you have the right tools and replacement parts to get the job done. If you think there is actual damage to the radiator and not the radiator hose and radiator hose clamps, it might be best to go to a professional to see what the problem is. This is one easy step in making sure that your car is able to run properly. By keeping up repairs and checking on your radiator hose and hose clamps, it also helps to make sure you will not have to pay an expensive bill for damage you can help to prevent with proper maintenance.


