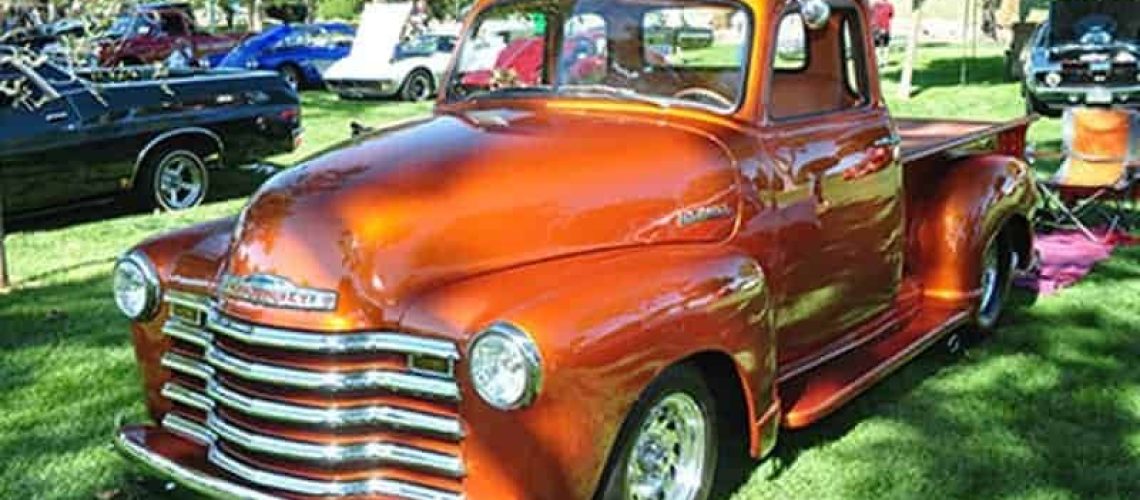
Taking on a classic Chevy Truck for a restoration is an exciting and extensive project. Depending on the state of your truck there are a myriad of different tasks that will need to be completed. If you’re lucky, you have found one that has minimal body damage and rust. Then you also have to take into consideration the entire engine. Which the engine alone is usually the majority of the restoration. Last but not least you have the interior. Bringing your classic back to its full glory is a rewarding journey.
Interior Restoration to Consider
More often than not, a classic has been left to sit for years. During this time if it wasn’t properly stored and cared for it can collect dust, rust and rodent friends. The interior of your classic Chevy Truck has a couple of different sections to consider. Are your seats still intact? Some classics have been parted out for other vehicles use. Check your dash for sun damage and cracks.  Then take note of your instrument cluster which includes the speedometer, gas gauge, temperature gauge, and tachometer. Also included in the dash is some form of radio, temperature controls and usually a clock. Some choose to upgrade the radio in a restoration while others keep to the classic look. All of these electronics should be checked to see if they are still working. If not, they are small but important parts to repair and restore.
Another important section of the interior to remember is your floors. The very base of the floors, the metal body, could potentially have rust damage that will need to be taken care of. If the metal is completely rusted through the entire rusted section will need to be cut out and replaced. If there is minimal rust you could potentially sand the rust out and use a rust repair putty to smooth the spots back out. You then need to take measures to help reduce the chance of rust in the future. On top of the body lies your carpet. Over time carpet gets worn, wet, torn and fades. Carpet is a great way to really freshen up your interior.
Replacing Your Carpet Interior
In a restoration project, carpet usually always needs to be replaced. By purchasing a pre-molded Chevy Truck carpet kit you can save yourself a lot of time and headache. You can spend the money and get your carpet professionally installed. However, installing it yourself is something you can definitely do from home with a little patience and preparation.
First things first you need to completely clear the floor from the old carpet and any debris. Use a vacuum to ensure all loose matter has been removed. If the body insulation is still intact and in good condition you are fine to reuse it. If not, it’s recommended to replace with new insulation. Now is the time to replace and sort out any wirings, organize and tape securely and as flat as possible. You don’t want any lumps or bumps in your new carpet.
 After your floor has been prepped you’ll want to prep the carpet. Unfold your carpet completely and stretch out any wrinkles. Then place the carpet inside your truck for a test run. Don’t make any cuts to your carpet until you are absolutely sure it’s the proper place! During the test run you’ll want to make sure it’s an even fit all around, stretch out any folds and wrinkles and make marks of where any cuts need to be made. After you’re satisfied with the fit make any necessary cuts. Use a spray adhesive to press and secure the carpet in place. Remove any excess on the edges, which there usually is excess provided to ensure a complete fit with your truck. Next you just need to reassemble the interior. Place and bolt the seats and any trimmings back into place. Then stand back and admire your work.
Restoring a classic back to its full beauty and potential takes time and dedication. Once you have completed your Chevy Truck restoration and you take it out for the first cruise all your hard work will pay off. Having a trusted fellow car enthusiast to purchase your needed restoration parts from is a must have. Here at Tuckers Classic Auto Parts we can help guide you on your restoration journey.


